STEERING BALL JOINTS
To replace damaged steering ball joints, follow the procedure outlined in the manufacturer’s repair manual. In general, this can be summarised in the following steps:
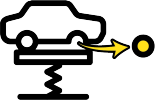
1. Place the vehicle on the lift and remove the wheel.
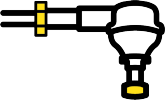
2. Loosen the nut securing the wheel-side ball joint to the steering arm and remove the nut connecting it to the steering knuckle.

3. Using a suitable puller, release the ball joint cone from its seat in the knuckle.
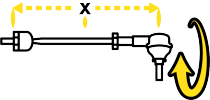
4. Before removing the ball joint from the tie rod end, make a distance reference measurement or count the number of turns the tie rod end has been threaded. Thus, the new ball joint can be set in the same position as the old, altering as little as possible the toe-in/toe-out preset angle.
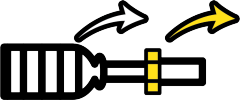
5. If the axial ball joint needs to be replaced, remove the nut from the steering arm and disassemble the steering rack gaiter before fitting the wheel-side ball joint. Loosen the steering rack gaiter clamps and remove the gaiter from the steering box. Next, loosen the axial ball joint with a suitable puller and remove it from the rack.
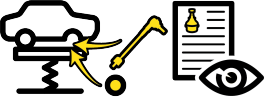
6. Follow the reverse order for installation of the new ball joint, paying particular attention to the torque specified by the manufacturer.
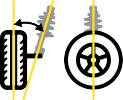
7. Align the steering.


Watch the video for steering ball joint inspection.
Watch the video for sTEERING ball joint replacement.
Find more videos on our Monroe® Youtube channel.

SUSPENSION BALL JOINT
To replace a damaged suspension ball joint, follow the specific procedure outlined in the manufacturer’s repair manual. In general, this can be summarised in the following steps:
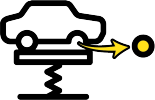
1. Place the vehicle on the lift and remove the wheel.
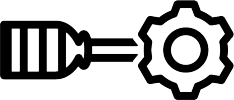
2. If necessary, disassemble the transmission, following the manufacturer’s instructions, to access the nut securing the ball joint to the knuckle.
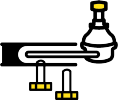
3. Loosen the screws or nuts securing the ball joint to the track control arm and steering knuckle.
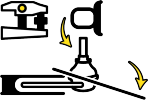
4. Using a suitable puller, release the ball joint cone from its point of attachment to the steering knuckle and with the aid of a lever gently force the suspension arm downward to remove it from its housing. If necessary, remove the suspension elements that are attached to the arm (sway bar tie rods, shock absorbers, etc.) so they are not forcing the arm.
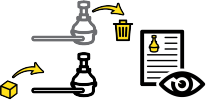
5. Remove the old ball joint and fit the new one following the reverse process. Pay special attention to the torque specified by the manufacturer.
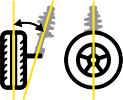
6. Align the steering.
Attention: if the ball joint is integrated into the track control arm, the entire arm will need to be replaced
Watch the video for suspension ball joint inspection.
Watch the video for suspension ball joint replacement.
Find more videos on our Monroe Youtube channel.
Note: For informational purposes only. We are not liable for any damages resulting from your reliance on this content

ARE YOU LOOKING FOR ball joints?
Discover Monroe’s ball joint range or visit the eCatalogue to find out which ball joint fits your vehicle.
