REMOVING THE OLD ASSEMBLY
To replace the damaged top mounting kit (top strut bearing and rubber mounting), follow the procedure outlined in the manufacturer’s repair manual. In general, this can be summarised in the following steps:
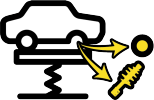
1. Place the vehicle on the lift and remove the wheel

2. Following the manufacturer’s instructions, remove the strut with the damaged bearing.

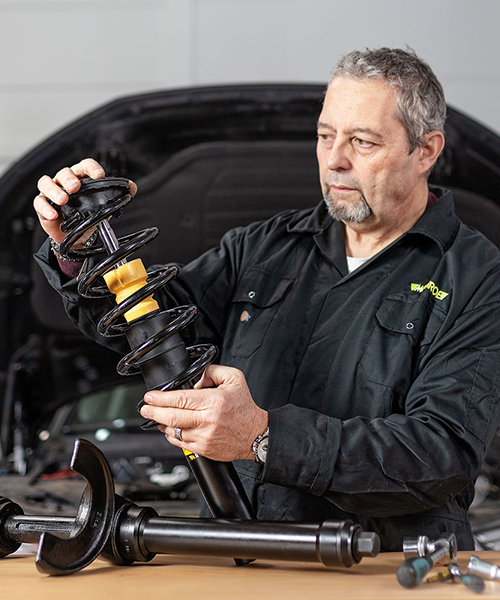
3. Once removed, attach the full unit to the workbench, then use a spring compressor to compress the strut’s spring to release the tension exerted on the top mounting kit. In some vehicle models, the coil spring must be compressed prior to removing the strut assembly from the vehicle.

4. Remove the fixing nut and dismantle the assembly.


INSTALLING MOUNTING KIT & NEW ASSEMBLY

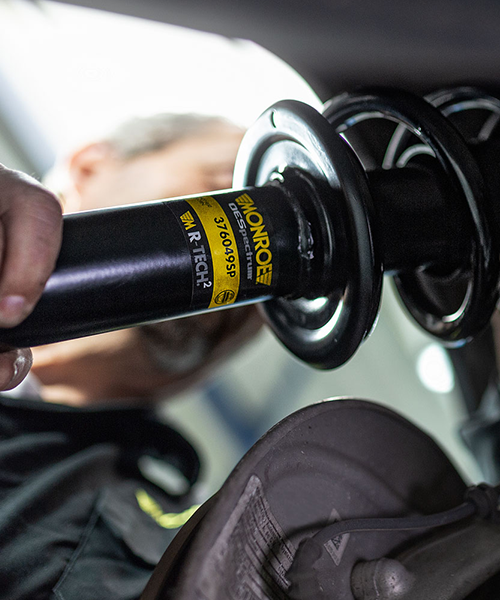
1. Replace the old upper mounting kit with the new Monroe Mounting Kit.
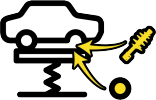
2. For the assembly process, follow the reverse order, paying particular attention to the torque specified by the manufacturer.
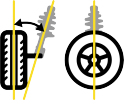
3. After finishing the repair work, align the steering.
Note: Given that the average life of these bearings is about 80.000 km, they should be checked annually or every 20.000 km (whichever comes first). These units should always be replaced in pairs (left and right) to ensure proper functioning of the suspension and steering systems.
Note: For informational purposes only. We are not liable for any damages resulting from your reliance on this content

ARE YOU LOOKING FOR A mounting kit?
Discover Monroe’s Mounting Kits or visit the eCatalogue to find out which mounting kit fits your vehicle.
