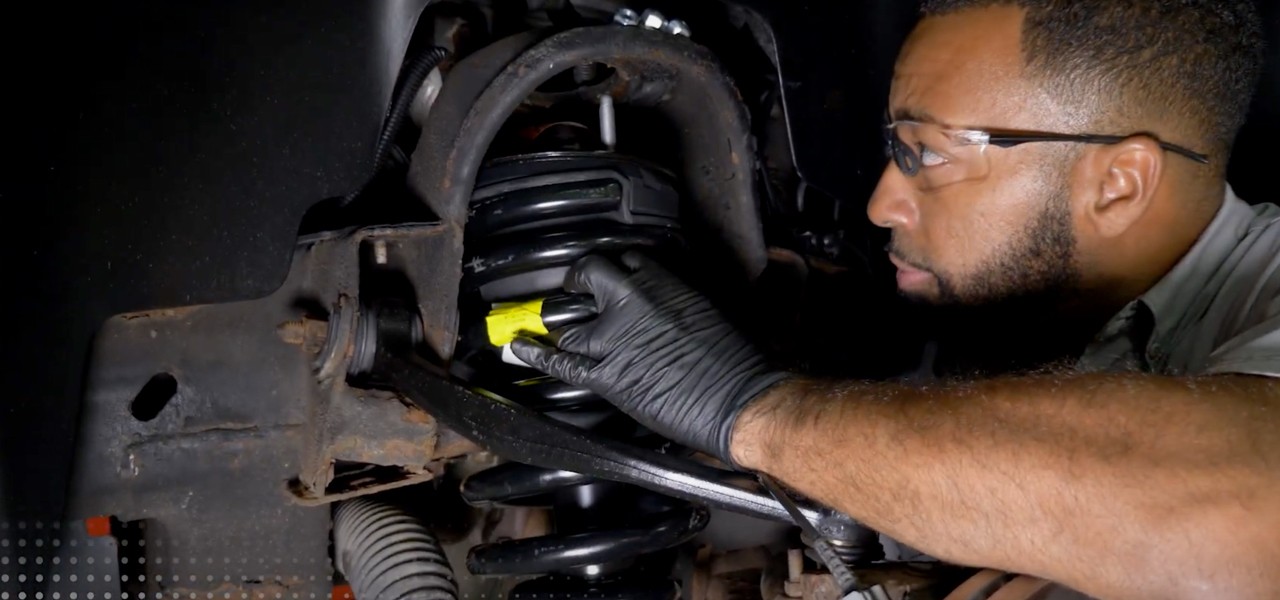
8 Things to Consider When Installing Shocks & Struts
Installing Shocks and Struts
While installing shocks and struts is a straightforward process, there are some questions surrounding this repair that could arise. Check out the potential issues that you could encounter as you work on replacing the shocks or struts on a vehicle:
Proper Shock Length
You may think that you need longer shocks if they are too short to install with the wheels hanging, however in most cases you don’t need a longer part. Many vehicles use shock absorber length to limit the suspension travel when the wheels are hanging in order to protect components from damage. For this reason, shocks should be installed with the vehicle suspension at normal ride height. Replacement could be performed on drive-on type ramps, over a mechanics pit, or on an alignment rack.
Examples of components typically protected against damage from over-extension are ball joints, tie-rod ends, 4WD half shafts/CV joints, U-joints, brake lines, ABS sensor lines, and height sensors. If the vehicle has been modified with an aftermarket suspension system, specially designed longer shocks are typically required.
Avoiding Shock Damage With A Snowplow
When a heavy snowplow is added to the front of a truck, the ride height must be set (raised) to fall within the vehicle manufacturer’s specifications. This will prevent premature failure of the shock absorbers, damage to other suspension parts and will ensure correct tire alignment. However, if the plow is removed (during the off-season), the ride height should be readjusted again (lowered) back to the manufacturer's specified ride height or suspension/shock damage may occur.
Mounting Orientation of Shock Absorbers
Most modern shock absorbers utilize a twin (dual) tube construction; in order to work properly, the inner of the two tubes (working chamber) should stay completely filled with oil. The outer (reserve) tube contains an oil reserve along with air or a pressurized gas. If the unit is mounted at an inverted (rod side down) position, the air or gas in the outer chamber can enter the inner working chamber, resulting in poor damping performance. Therefore, twin tube shock absorbers should not be mounted upside down (or on their side), with the exception of specially designed units that incorporate a gas cell (or cellular gas material), designed to keep the gas retained in the outer reserve tube.
Strut Bearing Noise While Turning
Noise can occur due to improper mount loading during installation; this can result in mount damage or a crushed bearing. Stretched or broken studs can also be the result of fully securing the mounting nuts prior to placing the weight of the vehicle on its tires. Avoid these issues by first loosely installing one or two upper mounting nuts to hold the strut assembly in place. Then position the lower strut mount to the steering knuckle assembly.
Next, install the lower mounting bolt(s) and lower the vehicle so that the weight of the vehicle rests on the tires. Check the vehicle manufacturer specifications to determine proper torque values. Finally, after torqueing the lower mounting bolts, secure the upper mounting nuts in an alternating pattern until all are fully tightened with a torque wrench.
Strut Making Noise Over Bumps
A strut that is making noise when going over bumps is typically caused by a worn strut mounting plate. To avoid issues with the mounting plate, be sure that the rod nut and all mounting nuts and bolts are torqued to manufacturer specifications. Worn mounting hardware can also cause noise. If the bolts become stretched, it can lead to noise and premature failure.
Replacing Electronic Struts With Non-Adjustable Struts
For vehicles originally equipped with electronically controlled adjustable struts, it may be possible to replace them with non-adjustable struts. Certain vehicles can be modified to accept non-electronic replacement units if the owner desires to remove the OE electronic ride control system. For more information, check out Monroe’s suspension conversion kit. In addition, Monroe manufactures suspension conversion kits to convert air suspension to coil suspension, and hydraulic self-leveling suspension to conventional shock absorbers.
Spring Seat Size
As a safety feature, some replacement struts are equipped with a larger diameter lower spring seat than what was on the vehicle. This safety feature is designed to prevent a broken coil spring from contacting the tire. Clearance should be checked if larger tires, tire chains or replacement wheels are being used.
Coil Spring Rubbing on Inner Fender Well
When installing existing components onto a replacement strut, care must be taken to ensure the upper spring seat is installed with the correct orientation to the lower spring seat or mount. In many cases the orientation of the upper spring seat determines the direction that the coil spring is bowed to allow for inner fender clearance. If the orientation is off, the spring may rub on the inner fender well when the wheels are turned or when the suspension is compressed.
Learn more about quality suspension parts, find the right car part, or find a local repair shop today.
The content contained in this article is for informational purposes only and should not be used in lieu of seeking professional advice from a certified technician or mechanic. We encourage you to consult with a certified technician or mechanic if you have specific questions or concerns relating to any of the topics covered herein. Under no circumstances will we be liable for any loss or damage caused by your reliance on any content.