
How to Install a Strut Assembly on a Chevrolet/GMC SUV
Strut Basics
A key part of your vehicle's suspension system, struts help keep your vehicle’s tires in contact with the road to maintain a high level of steering, stopping and stability. Struts not only perform a damping function but they also provide structural support for the suspension, support the spring, and hold the tire in an aligned position.
Replacing a failing strut with a complete strut assembly is an easier repair than just replacing the strut and reusing the coil spring. Including an upper strut mount, coil spring and strut in a single, fully assembled unit, installing a Monroe® Quick-Strut® assembly doesn’t require a spring compressor. Featuring vehicle-specific design, Monroe Quick-Strut strut assemblies are fit checked, ride tested and engineered to restore factory ride height and ride performance.
To learn how to install a Monroe Quick-Strut complete strut assembly, check out the steps for installing part number 172518 for 2009-2012 Chevrolet Traverse, 2008-2012 Buick Enclave, 2007-2012 GMC Acadia, and 2007-2010 Saturn Outlook.
Steps for Replacing a Front Strut Assembly
Step 1
Remove the air inlet grille panel, wiper blades and wiper blade arms.
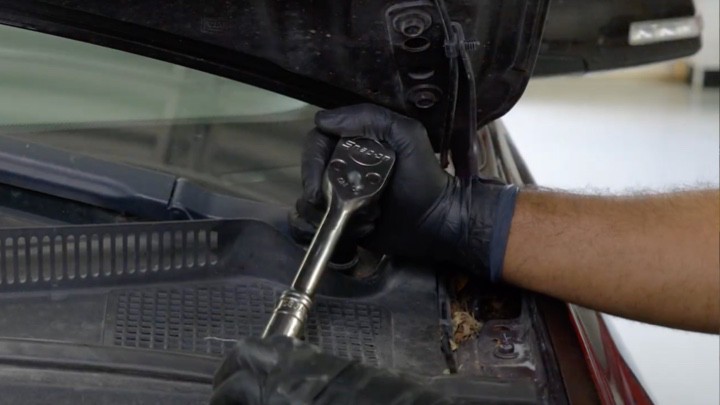
Step 2
Remove and save the remote battery ground stud.
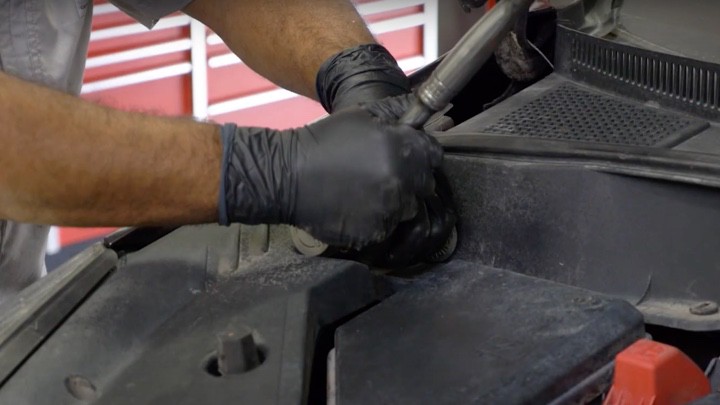
Step 3
Remove all but one of the upper mounting nuts, keeping the last one loose.
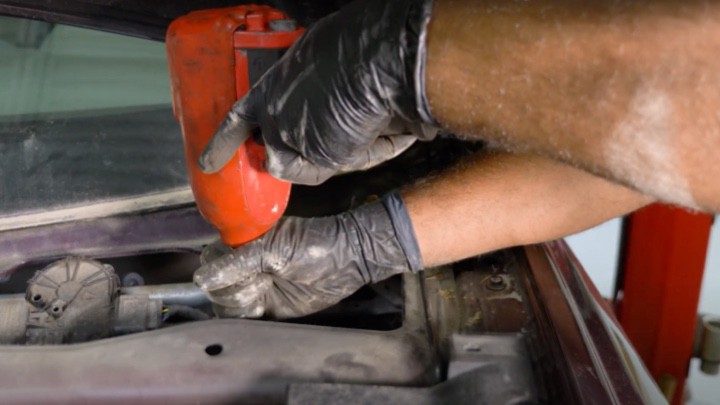
Step 4
Raise the vehicle and support the frame. Remove the front wheel.
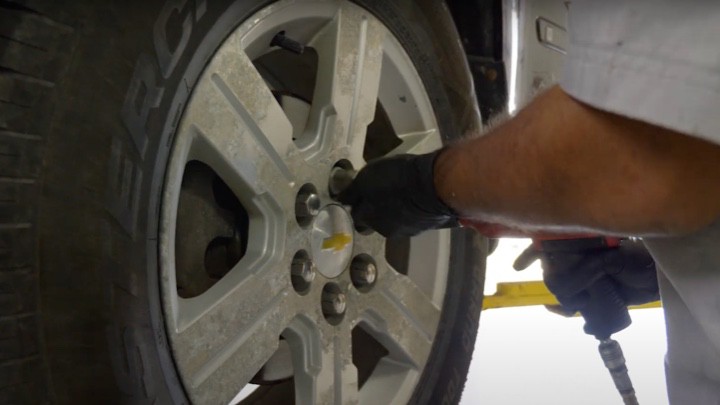
Step 5
Remove the stabilizer link and wheel speed sensor wiring harness from the strut.
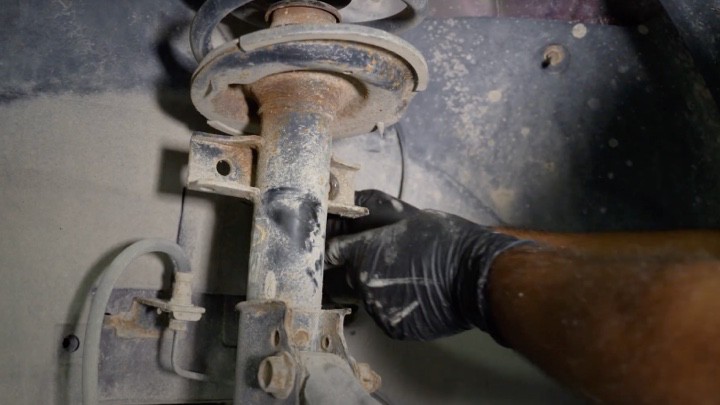
Step 6
Remove and save lower mounting nuts and bolts.
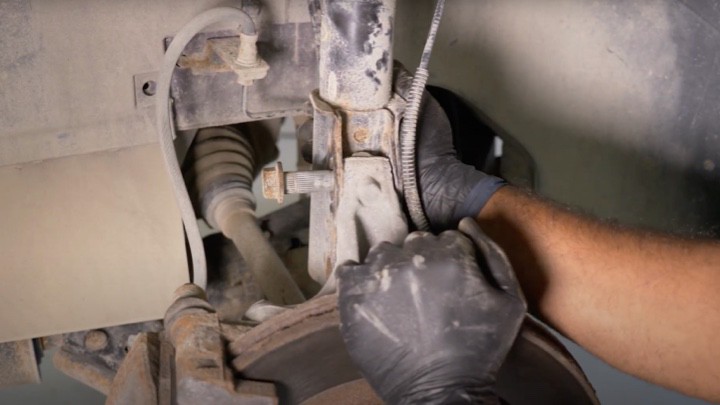
Step 7
Separate the strut clevis from the steering knuckle and safely support the steering knuckles out of the way.
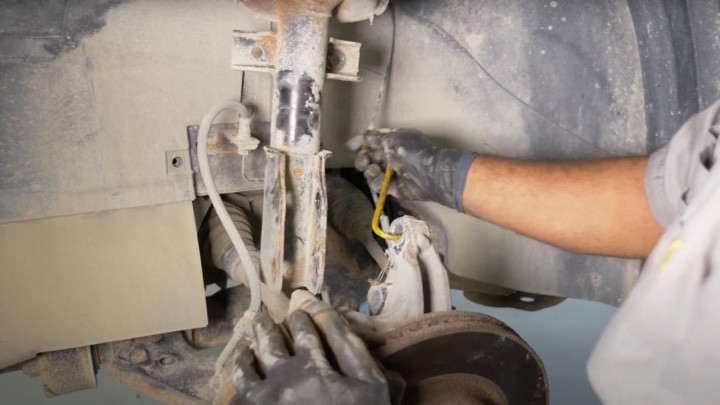
Step 8
While supporting the strut assembly, remove the last mounting nut and remove the assembly from the vehicle.
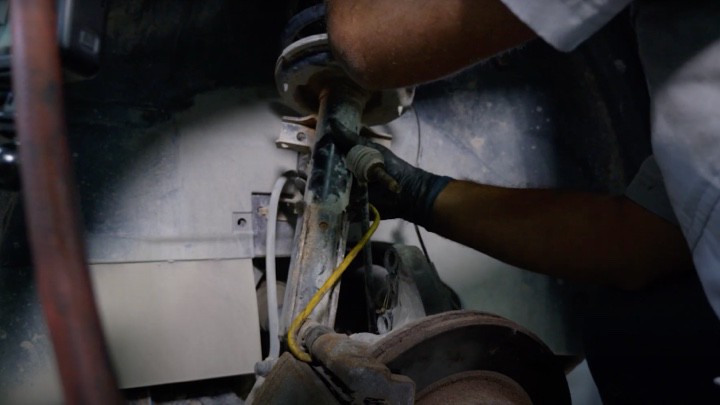
Step 9
Insert the new strut assembly into the strut tower and loosely attach one upper mounting nut.
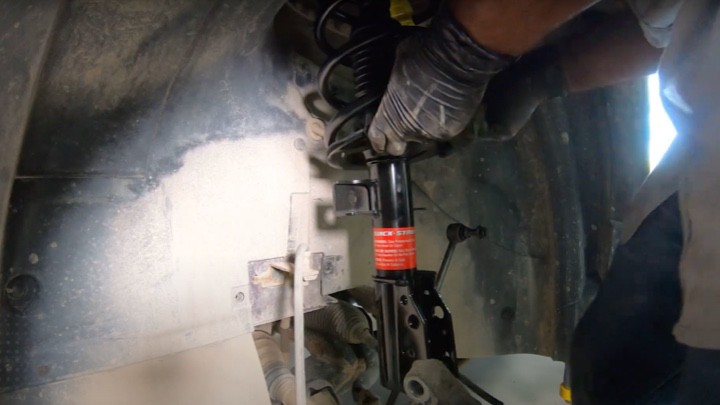
Step 10
Install lower mounting nuts and bolts and torque to manufacturer specifications.
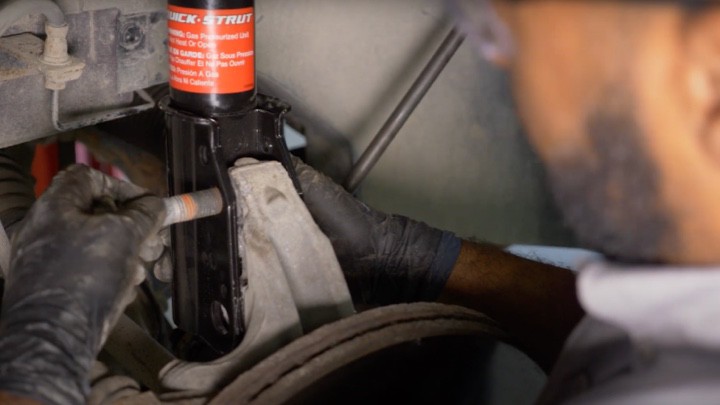
Step 11
Attach stabilizer link to strut and torque nut to manufacturer specifications.
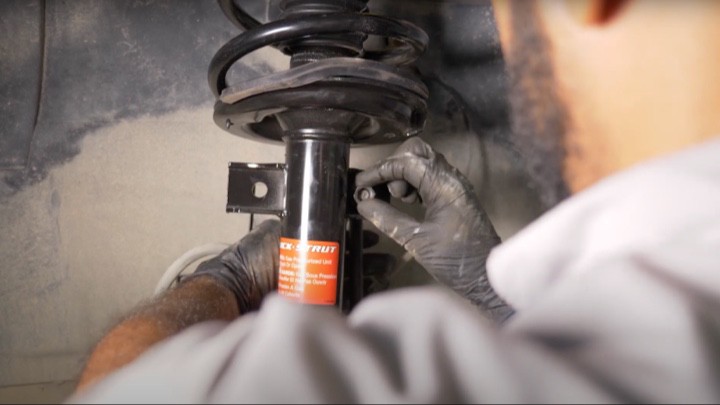
Step 12
Reconnect the wheel speed sensor wiring harness to the strut.
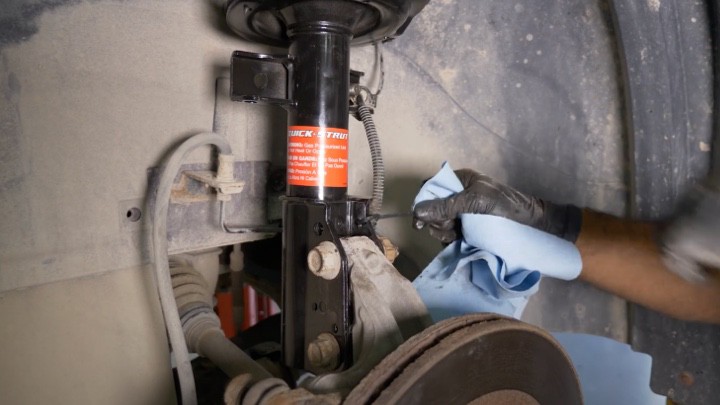
Step 13
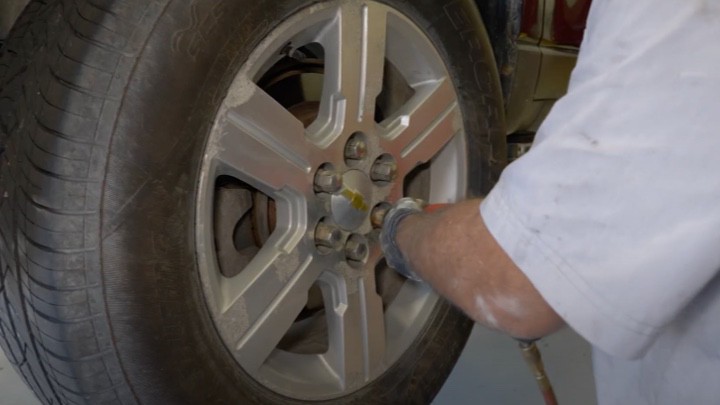
Put the wheel on and lower the vehicle. Torque to manufacturer specifications.
Step 14
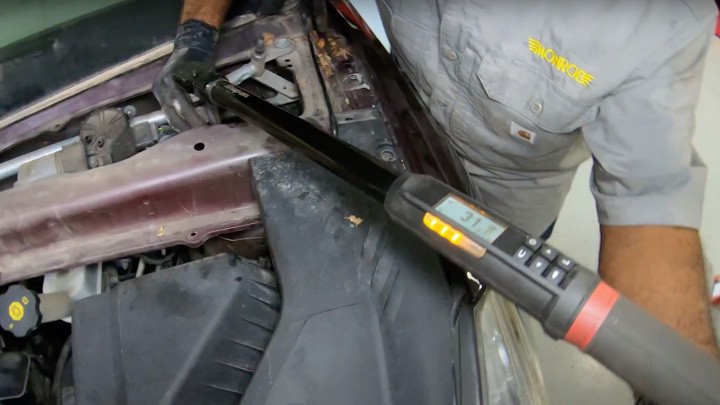
Install the remaining upper mounting nuts and torque to manufacturer specifications.
Step 15
Perform this process on the other side and check the vehicle’s alignment. Make any necessary adjustments.
Step 16
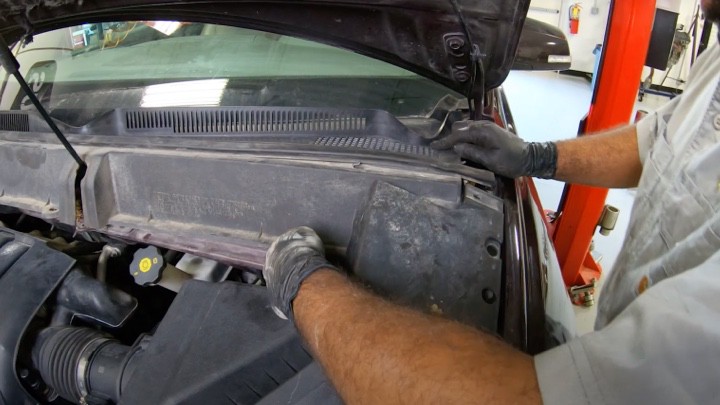
Reinstall the air inlet grille panel, wiper blades and wiper blade arms.
Step 17
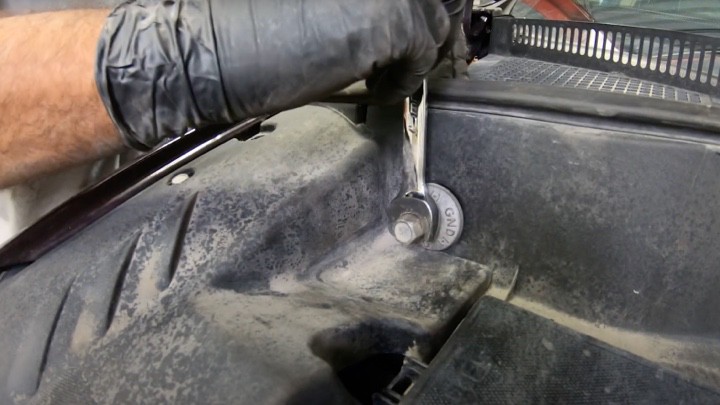
Reinstall the remote battery ground stud.
Learn more about quality ride control parts, find the right car part, or find a local repair shop today.
The content contained in this article is for informational purposes only and should not be used in lieu of seeking professional advice from a certified technician or mechanic. We encourage you to consult with a certified technician or mechanic if you have specific questions or concerns relating to any of the topics covered herein. Under no circumstances will we be liable for any loss or damage caused by your reliance on any content.