
How to Install a Strut Assembly on a Chevy Silverado/GMC Sierra 1500
Advantages of Monroe® Magnum® Loaded Strut Assembly
Designed to simplify the installation process, replace a failing strut with a complete strut assembly. An easier repair than just replacing the strut and reusing the coil spring, the job doesn’t require the use of a spring compressor. A Monroe Magnum Loaded Strut Assembly includes an upper strut mount, coil spring and strut in a single, fully assembled unit.
For hardworking half-ton trucks, the complete Monroe Magnum Loaded Strut Assembly features a variable rate coil spring that delivers a comfortable ride and maintains ride height for everyday driving or when under load. To learn how to install a Monroe Magnum Loaded Strut Assembly, check out the steps for installing part number 153027 for 2007-2013 Chevrolet Silverado 1500 and GMC Sierra 1500.
Steps for Replacing a Loaded Strut Assembly
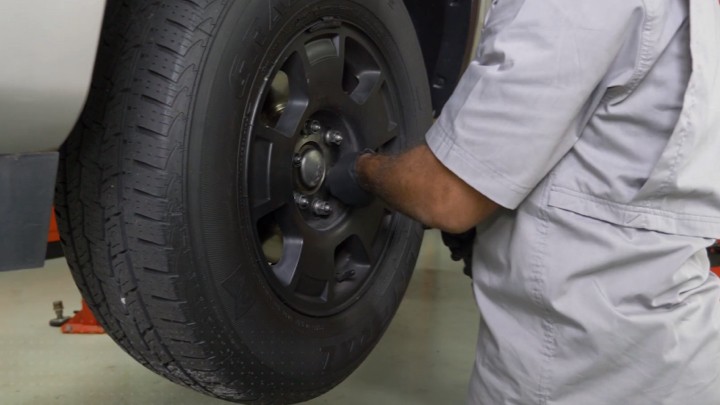
Step 1
Raise the vehicle and support the frame. Remove the front wheel.
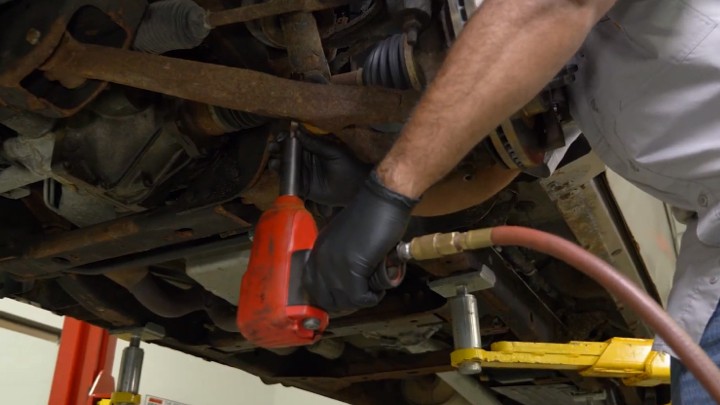
Step 2
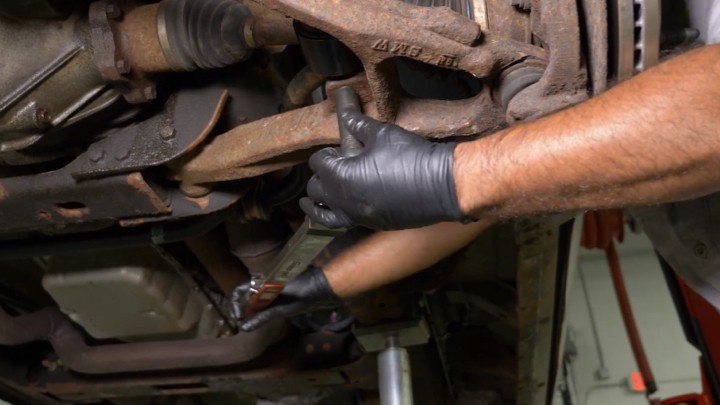
Remove and save the lower two mounting bolts.
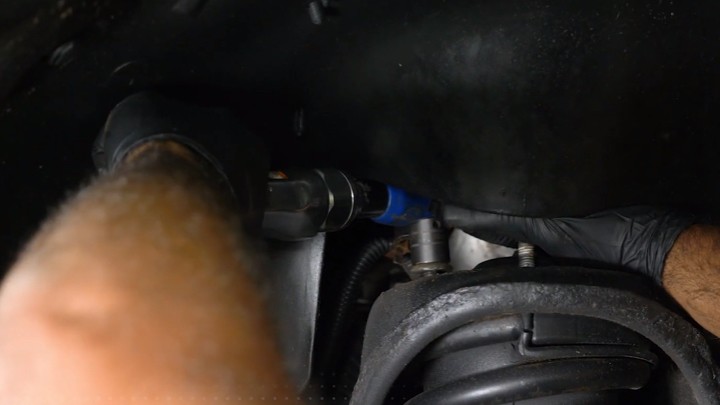
Step 3
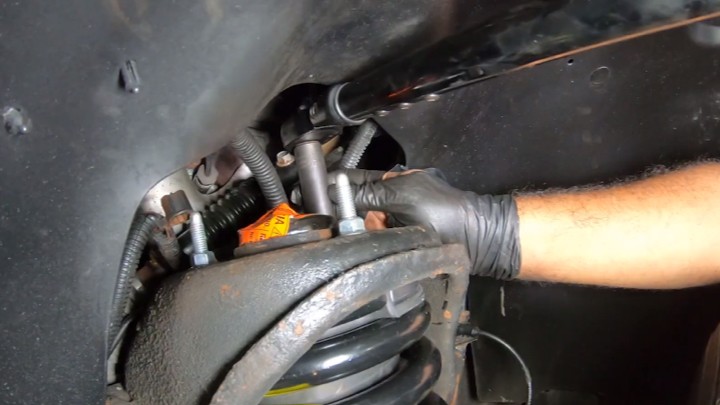
Remove and save the upper mounting nuts.
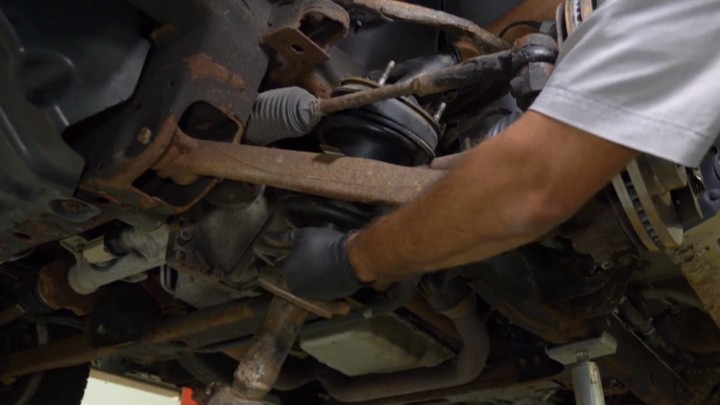
Step 4
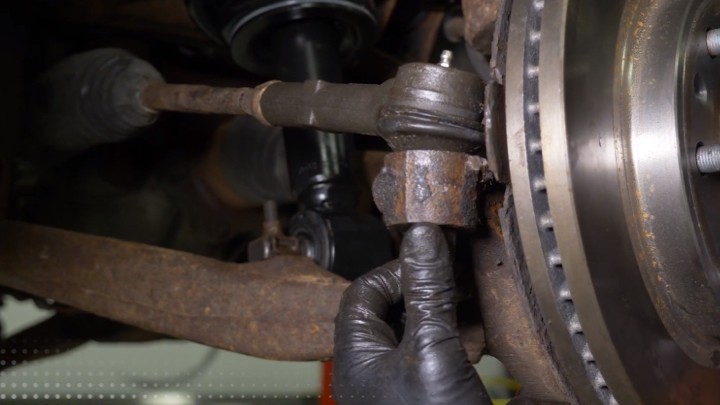
Remove the strut assembly. You may need to disconnect the outer tie rod end from the steering knuckle for additional clearance.
Step 5
Insert the new strut assembly into the strut tower and loosely attach one upper mounting nut.
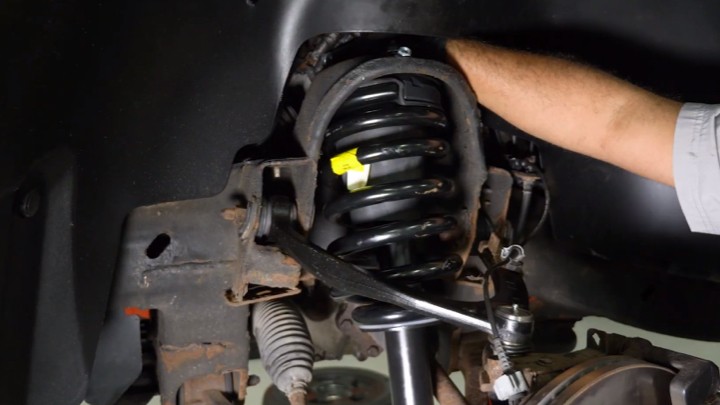
Step 6
Install the lower mounting bolts.
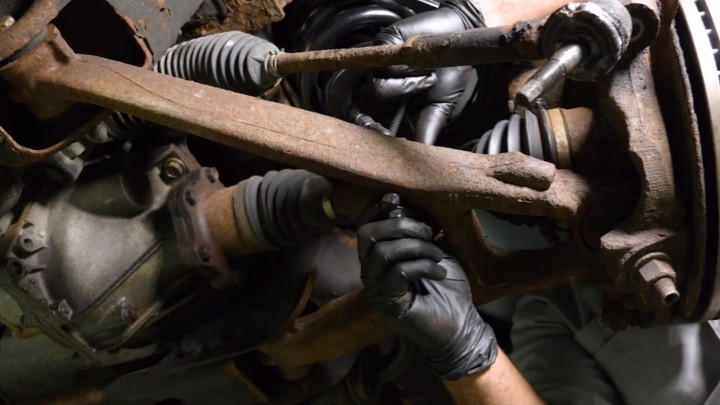
Step 7
If the outer tie rod is disconnected, inspect and replace if necessary.
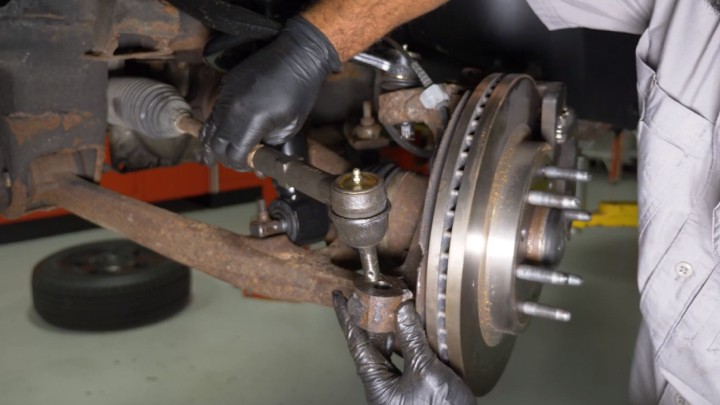
Step 8
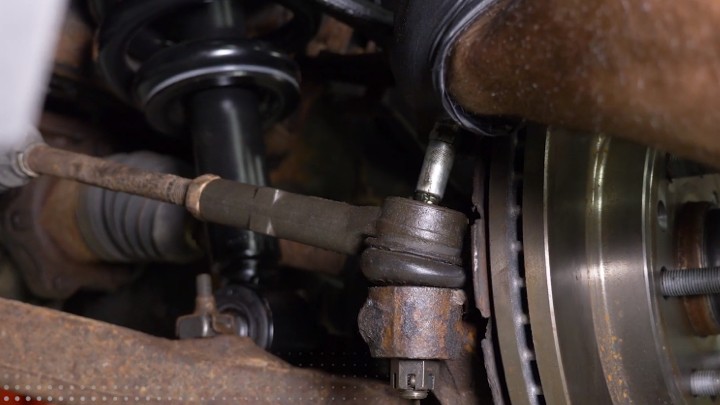
Install tie rod end to steering knuckle and torque to manufacturer specifications.
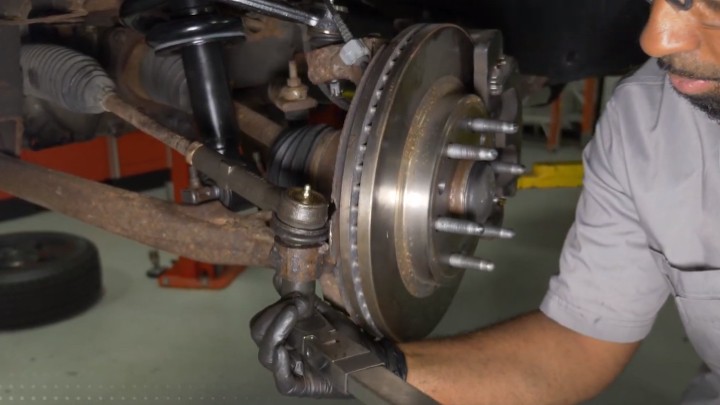
Step 9
After installing the outer tie rod end nut, insert a cotter pin.
Step 10
Grease the new outer tie rod end if applicable.
Step 11
Torque lower mounting bolts to manufacturer specifications.
Step 12
Load the suspension and then tighten the upper mounting nuts to manufacturer specifications.
Step 13
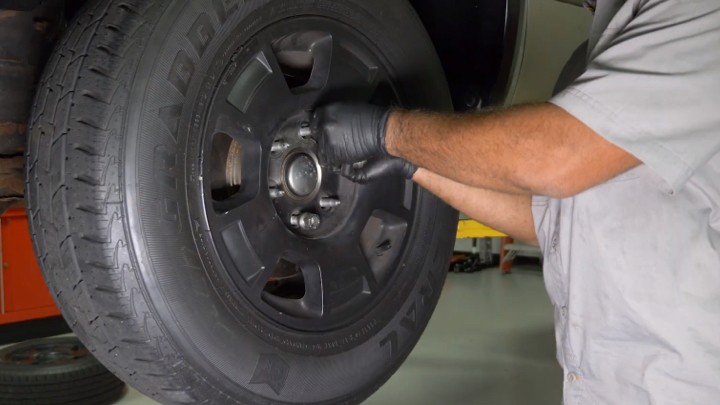
Replace the wheel.
Step 14
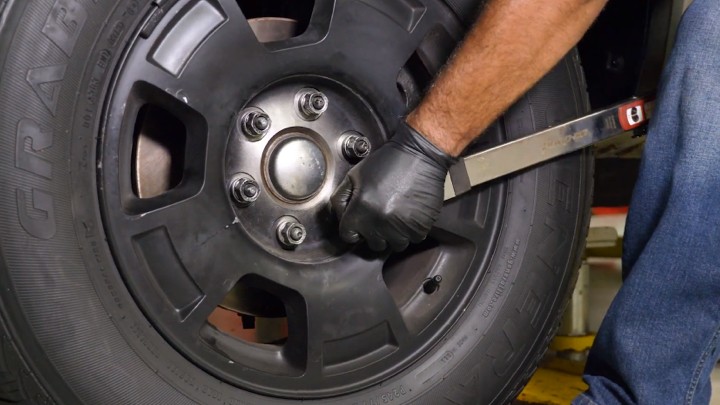
Lower the vehicle and torque the wheel lug nuts to manufacturer specifications.
Step 15
Perform this process on the other side. Check the vehicle’s alignment and make any necessary adjustments.
Learn more about quality suspension parts, find the right car part, or find a local repair shop today.
The content contained in this article is for informational purposes only and should not be used in lieu of seeking professional advice from a certified technician or mechanic. We encourage you to consult with a certified technician or mechanic if you have specific questions or concerns relating to any of the topics covered herein. Under no circumstances will we be liable for any loss or damage caused by your reliance on any content.