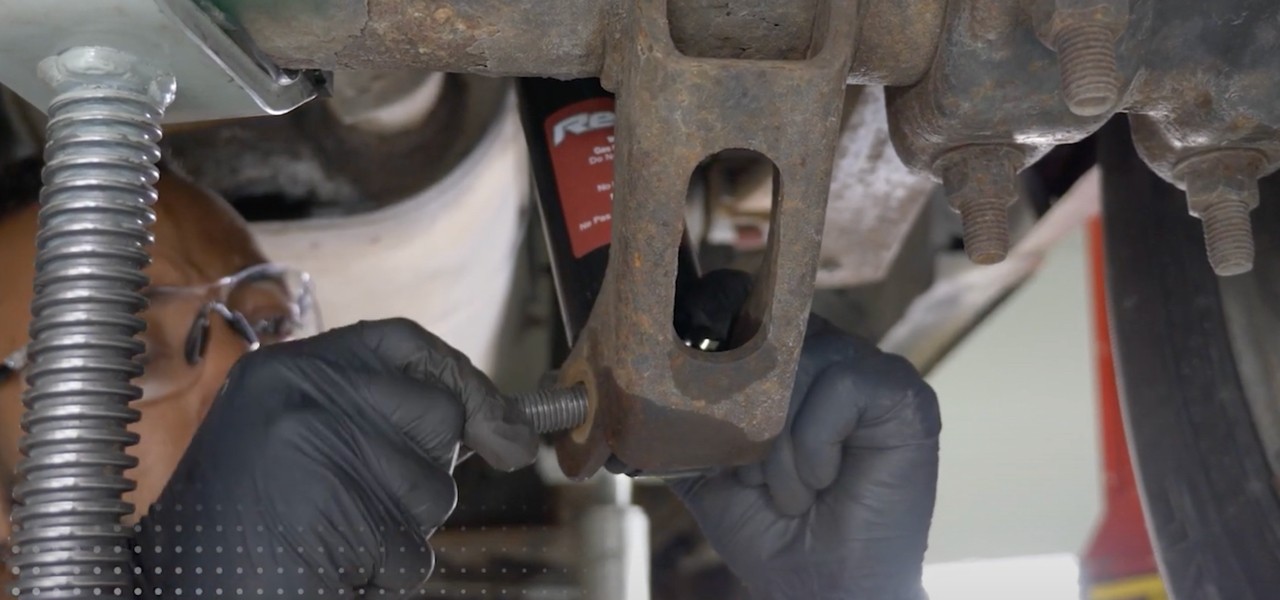
How to Install a Shock on a Chevy Silverado/GMC Sierra 1500
How Shocks Work
Designed to help keep your vehicle’s tires in contact with the road to maintain a high level of steering, stopping and stability, shocks are a key part of your suspension system. Shocks also help maintain a balanced ride by providing resistance to vehicle bounce, roll and sway as well as brake dive and acceleration squat.
Replacing a bad shock with a Monroe® Reflex® shock restores your vehicle’s original factory drivability and performance. Ideal for vehicles with a higher center of gravity, Reflex light truck shocks feature ASD valving technology that automatically adjusts the unit to absorb the impact, helping to reduce vehicle roll and dive. To learn how to install a Monroe Reflex rear shock, check out the steps for installing part number 911533 for 2007-2018 Chevrolet Silverado 1500 and GMC Sierra 1500.
Steps for Replacing a Rear Shock
Step 1
Raise the vehicle and support the rear axle.
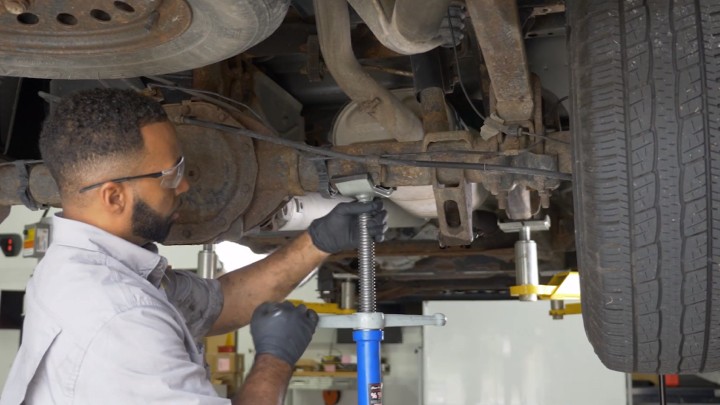
Step 2
Remove and save lower mounting nut and bolt.
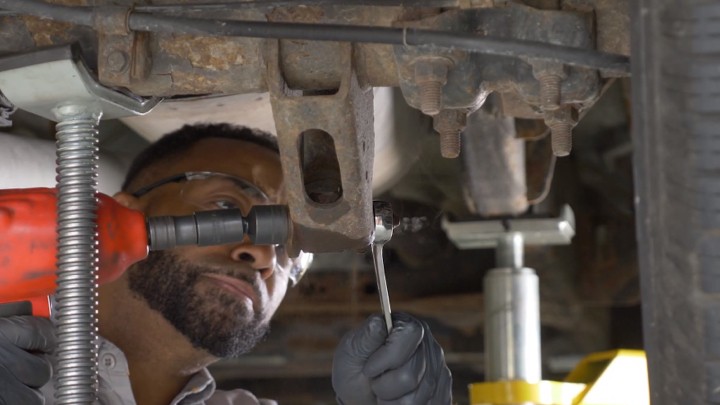
Step 3
Remove and save upper mounting bolt.
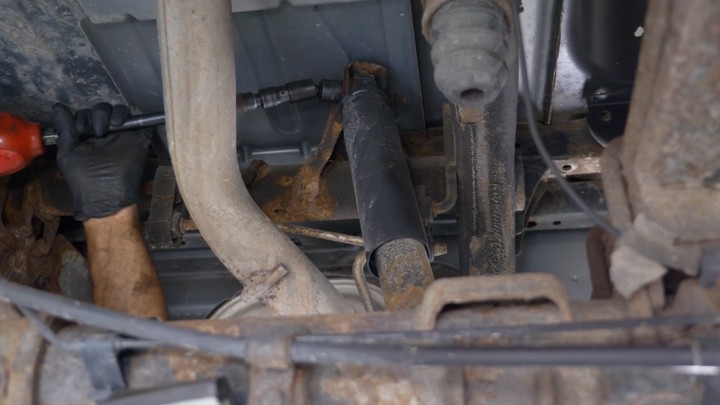
Step 4
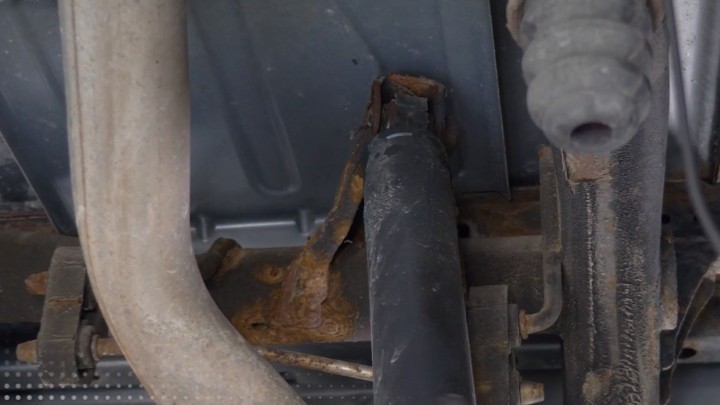
Remove old shock.
Step 5
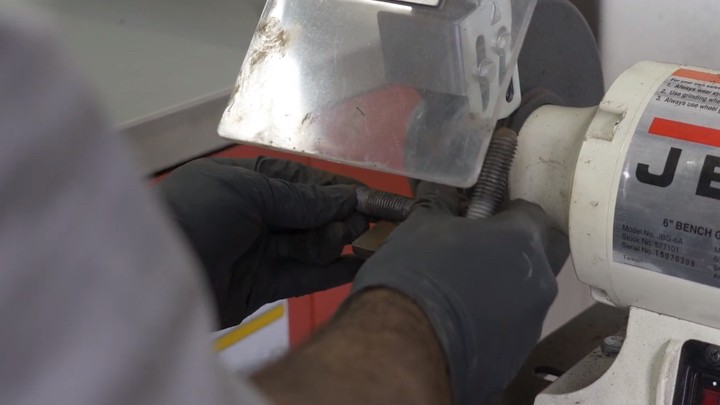
Clean the mounting bolts if necessary.
Step 6
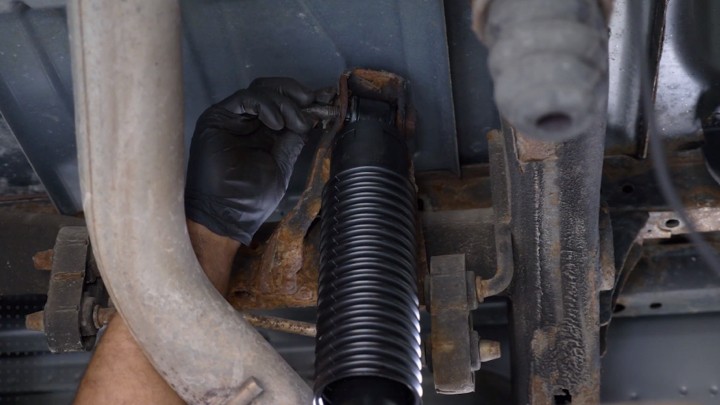
Position the new shock on the vehicle and install the upper and lower mounting bolts and nuts. Please note that because these are monotube shocks, they don’t need to be primed.
Step 7
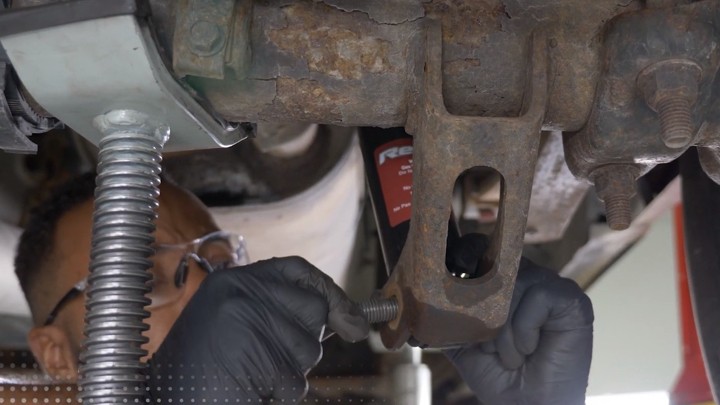
Load the suspension to prevent bushing windup.
Step 8
Torque lower and upper mounting nut and bolt to manufacturer specifications.
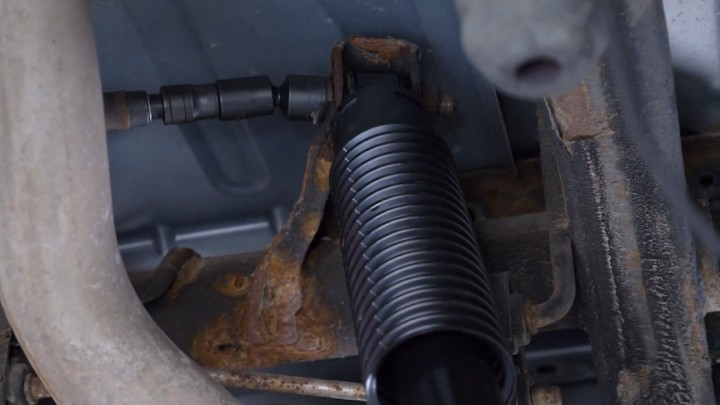
Step 9
Remove the vehicle support and lower vehicle to the ground.
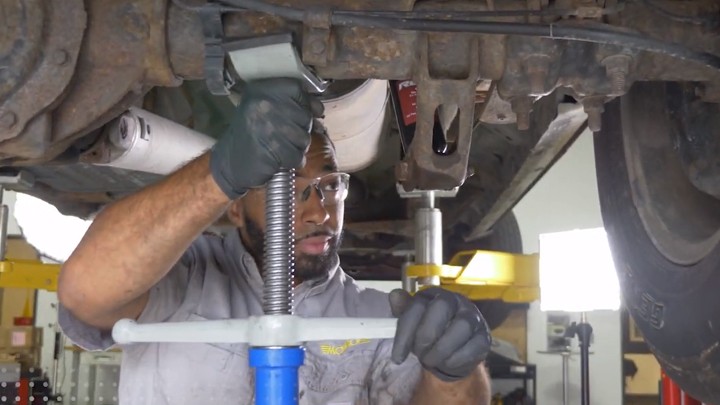
Step 10
Torque lower and upper mounting nut and bolt to manufacturer specifications.
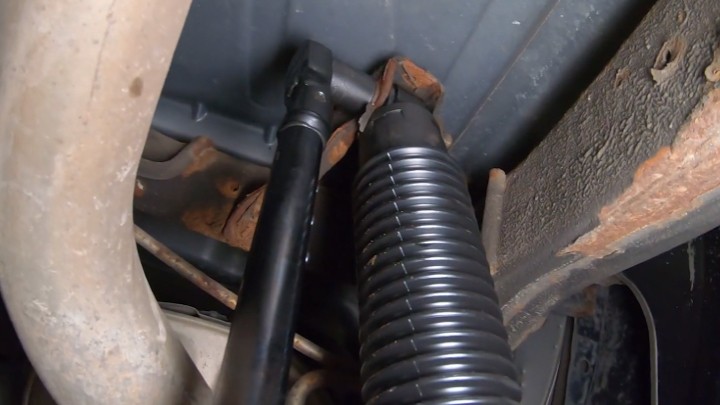
Step 11
Repeat the sequence for the other side.
Learn more about quality suspension parts, find the right car part, or find a local repair shop today.
The content contained in this article is for informational purposes only and should not be used in lieu of seeking professional advice from a certified technician or mechanic. We encourage you to consult with a certified technician or mechanic if you have specific questions or concerns relating to any of the topics covered herein. Under no circumstances will we be liable for any loss or damage caused by your reliance on any content.