
Air Shock Installation Tips
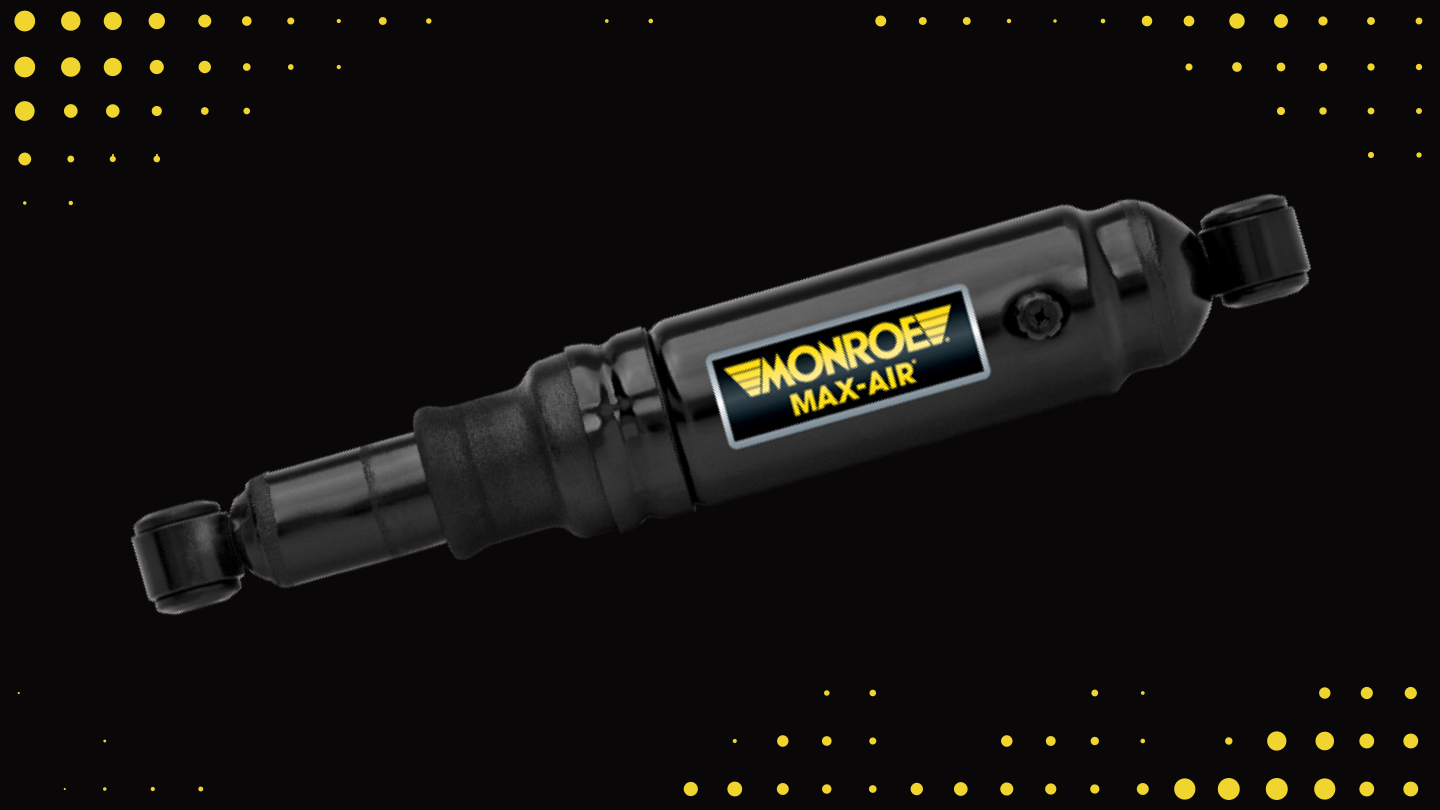
What Air Shocks Do
Found on vehicles like trucks and SUVs that are often under load, air shocks help level the vehicle and restore its original ride height. By increasing or decreasing the amount of air in the shock, the ride height is adjusted to accommodate the load that the vehicle is hauling. Whether you’re trying to decide if air shocks are right for your vehicle or if you’re ready to do the installation, we have helpful tips and advice to guide you.
Properly Using Air Shocks
When deciding if air shocks are right for your vehicle, consider the following:
- Air Shocks Aren’t For Lifting Vehicles
Keep in mind that air shocks aren’t designed to raise a vehicle higher. There is a misconception that by installing air shocks it allows you to install bigger tires on a vehicle. This is untrue – if you hit an impact with tires that are too big for the vehicle, the suspension compresses down too far which can cause the tire to come in contact with the fender. This contact can cause tire damage or, in a worst-case scenario, a tire blowout. The proper way to raise a vehicle to install larger tires is with the correct suspension system that is specifically designed to lift the vehicle. - Don’t Install Air Shocks On Front Axle
Another application misconception is installing air shocks on the front axle to accommodate a snowplow. Some people will install air shocks on the front axle to level the height of the vehicle due to the weight of the snowplow. This is not the proper use of air shocks – it alters the alignment angles and can compromise the performance of the vehicle’s suspension parts. It is imperative that you use a snowplow that is appropriately sized for your vehicle and that you follow the plow manufacturer’s specifications for maintaining ride height. - Don’t Support Vehicle Weight
When assembling a dune buggy or off-road vehicle, some may try to use air shocks to support all the weight of the vehicle; they are NOT designed to support the weight of the entire vehicle. Air shocks may be able to support the weight of the vehicle statically, but won’t be able to handle the load dynamically and can bottom out. - Air Shocks & GVWR
Installing air shocks doesn’t increase the Gross Vehicle Weight Rating (GVWR) of the vehicle. Be sure not to exceed the maximum carrying capacity recommended by the manufacturer. If you overload the vehicle, you risk decreased performance, poor handling and increased braking distances. - Air Shocks Aren’t For ¾- or 1-Ton Trucks
In general, air shocks are designed for ½-ton trucks and light duty ¾- trucks, not for heavy duty ¾- and 1-ton trucks. The suspension on these heavy-duty trucks is designed to manage a heavier load/weight, unlike ½-ton trucks which might sag when under a heavier load. Don’t put air shocks for a ½-ton truck on a ¾- or 1-ton truck.
Air Shock Installation Tips
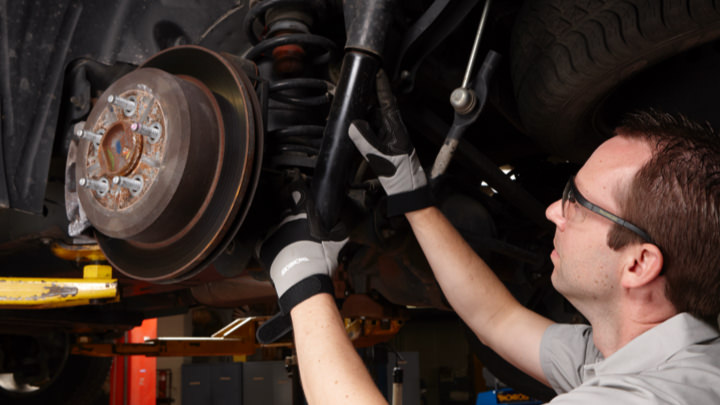
Installing air shocks is a straight-forward job, but there are some things to keep in mind for a successful repair:
- Don’t Rotate
While most shocks can be rotated, air shocks can’t be twisted. The upper and lower part of the air shock has a fixed alignment due to the bellows. If the upper and lower mounts aren’t aligned in parallel, it won’t work properly. Don’t twist the upper or lower mount. - Mount Air Line Fitting Properly
It is important to have the air line fitting on the dust shield facing in the proper direction. If it isn’t installed correctly, the air line may extend out and could rub against the tire. Be sure to affix the air line to the frame of the vehicle (and not the suspension) to allow for play. In some cases, you may have to strap the air line to the dust shield with a zip tie to hold it away from the tire and/or exhaust system. - Avoid Tire Wear & Handling Issues
Air shocks should be adjusted to maintain the original ride height. If the shocks are adjusted to make the ride height higher than what the manufacturer intended, it can affect the suspension geometry of the vehicle and can lead to excessive tire wear and handling issues. - Installing Air Line Fittings
On most air line fittings, the O-ring is compressed around the air line. The proper procedure is to slide the nut and O-ring onto the air line and then insert it into the shock. This ensures the air line is inserted correctly in the fitting. The fitting may leak if you install the O-ring and nut onto the shock first. - Where to Mount the T-Fitting
Mount the T-fitting in the trunk or somewhere easy to access when you need to add air. If you install the T-fitting in the trunk or somewhere else inside the vehicle, make sure it won’t get damaged by anything you store there. - Avoid Overtightening Air Fitting Nut
Tighten the plastic nut on the fitting on the dust shield by hand. If you overtighten the fitting, it can pinch off the air line and air won’t get into the shock. - Putting Air in the System
Once the air shocks are installed, you’re ready to put air in the system. Keep in mind that air shocks are like tires: you shouldn’t operate the air shocks with no air in them. For a manual system, you should have a minimum of 20 PSI in the shocks. When under load, add only enough air pressure to maintain level ride height. More air isn’t better; it will change the ride height which will lead to ride harshness and damage to suspension parts.
Learn more about quality suspension parts, find the right car part, or find a local repair shop today.
The content contained in this article is for informational purposes only and should not be used in lieu of seeking professional advice from a certified technician or mechanic. We encourage you to consult with a certified technician or mechanic if you have specific questions or concerns relating to any of the topics covered herein. Under no circumstances will we be liable for any loss or damage caused by your reliance on any content.