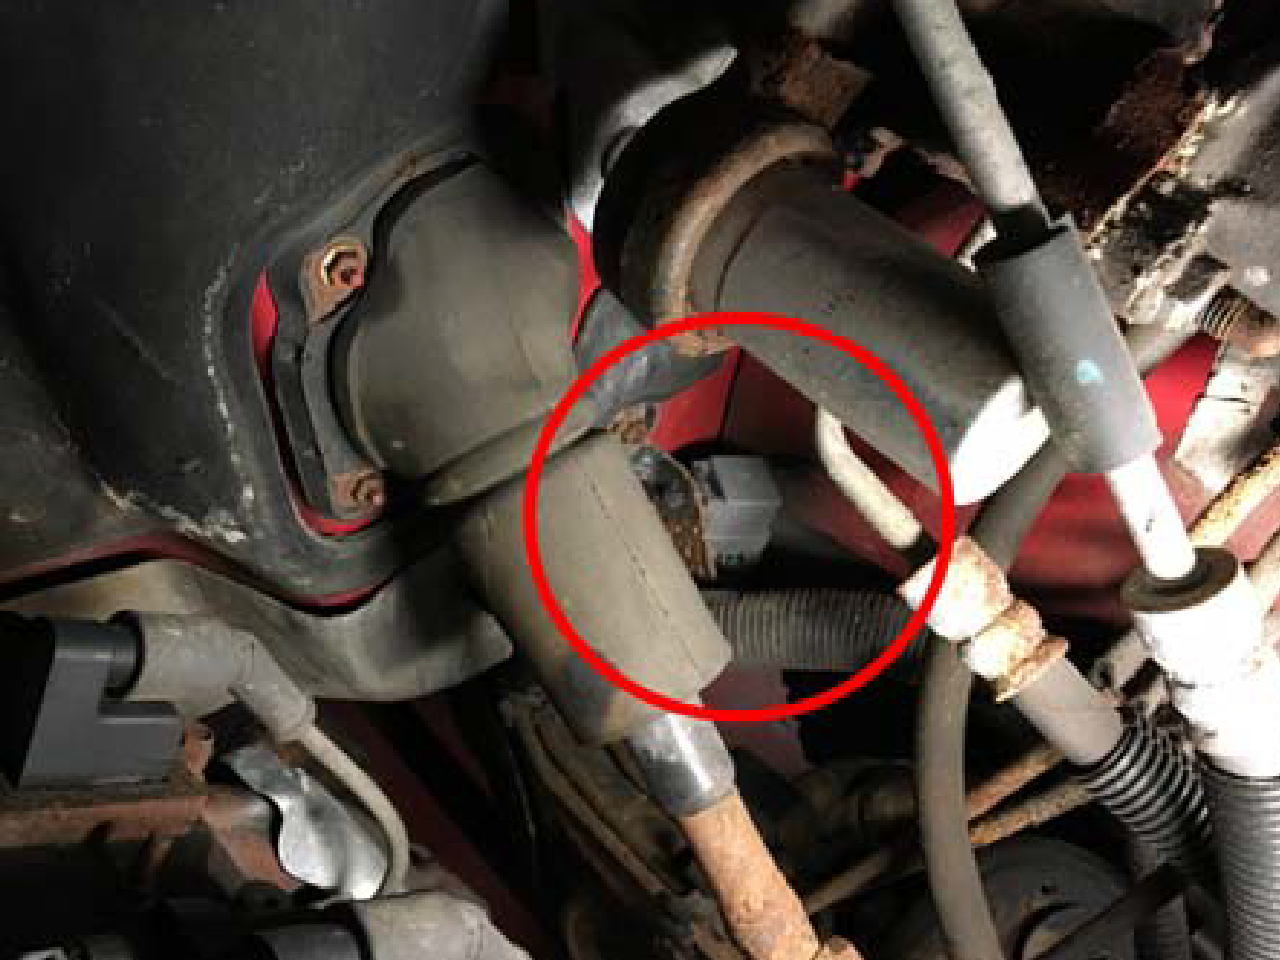
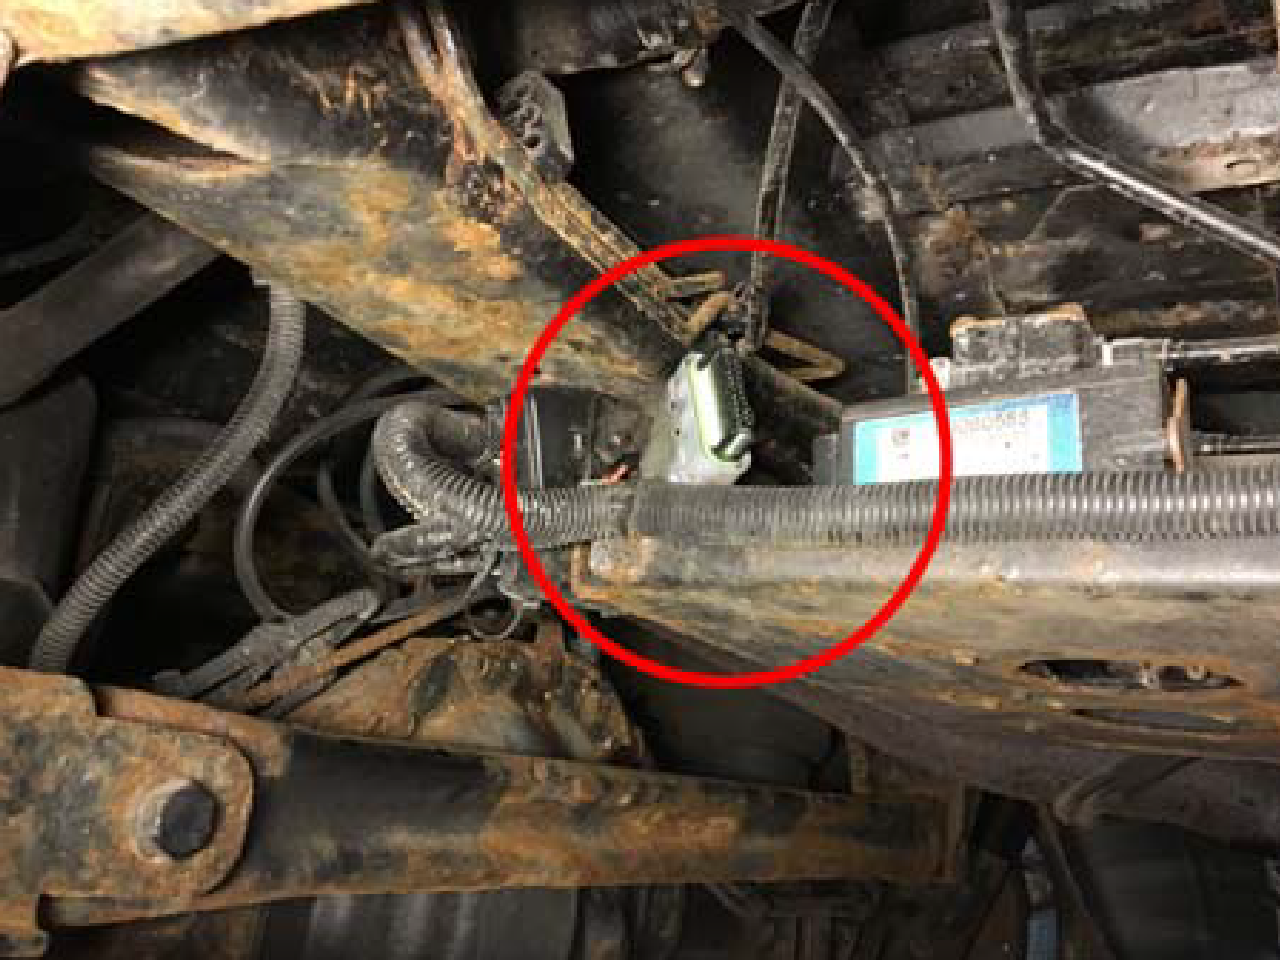
For vehicles originally equipped with rear air spring suspension:
- 2009-2003 Hummer H2 (Excludes Limousine)
- Read this instruction sheet and any instructions printed on the parts package carefully prior to removing the components from the vehicle.
- Part number on shock or spring may differ from part number on carton. The contents are correct for the vehicle.
WARNING!
- Do not attempt to service or remove the air spring from suspension if still containing air. Release the air from the spring before servicing.
- If the shocks supplied are nitrogen gas pressurized, do not heat or open.
- Always wear safety glasses for eye protection.
- Use safety stands whenever a procedure requires you to be under a vehicle.
- Before servicing any electrical component ensure the key is out of the ignition, ignition is off and the negative lead is disconnected from the battery. Refer to the owner’s manual for the correct procedure.
This kit replaces the rear air springs on vehicles listed above. This will abort the air springs, replacing them with conventional coil springs that provide a complete and thorough conversion plus eliminates the pump system. The components in this kit are designed to replace the worn or non operational original equipment components in the vehicle.
Inspect all parts as removed from the cartons for correct quantity and damage. Obtain replacements if necessary.
The original ride heights of these vehicles may vary with age and mileage. Measure and record existing height, this is measured from center of the wheel to the bottom of the fender well opening lip. This should be between 24.75” and 25.75”. The ride height could be considerably higher or lower if the air suspension is not functioning properly. After kit installation, the ride height may be equal or exceed factory measurements, but will settle to factory specification after several days. Keep in mind a coil spring may sit higher than an air spring when unloaded.
- Disable the air suspension system (refer to owner’s manual).
- Raise vehicle by frame at proper lift points. If you are not using a frame contact hoist, remove the rear tires. (Consult GM Owners Manual if necessary) and make sure the vehicle is properly supported.
- If necessary, use a bi-directional scan tool to deflate the air springs. Disconnect the air line from the air springs. Push the air line into the air spring and push down on the brass collet. While holding the brass collet down, pull up on the air line to remove it. Seal off air lines to prevent contaminants from entering the opening.
- Support the axle with floor jack or adjustable stands. Remove the shock absorber lower mounting bolts and save for reuse (inspect and replace if necessary).
- Remove the ride height sensor linkage from the upper control arms on each side of the vehicle.
- Remove the bolt that holds the brake line bracket to the rear differential.
- Disconnect one end of both rear anti-sway bar end links.
- Using the floor jack or adjustable stands, slowly lower the axle down to remove the lower air spring piston from the lower axle support. Note: The air spring center support may be removed to ease installation of coil spring; however, this is not required if the axle is lowered enough to allow for free length of coil spring.
- Remove the air spring assembly by rotating the upper mount counterclockwise as viewed from the bottom.
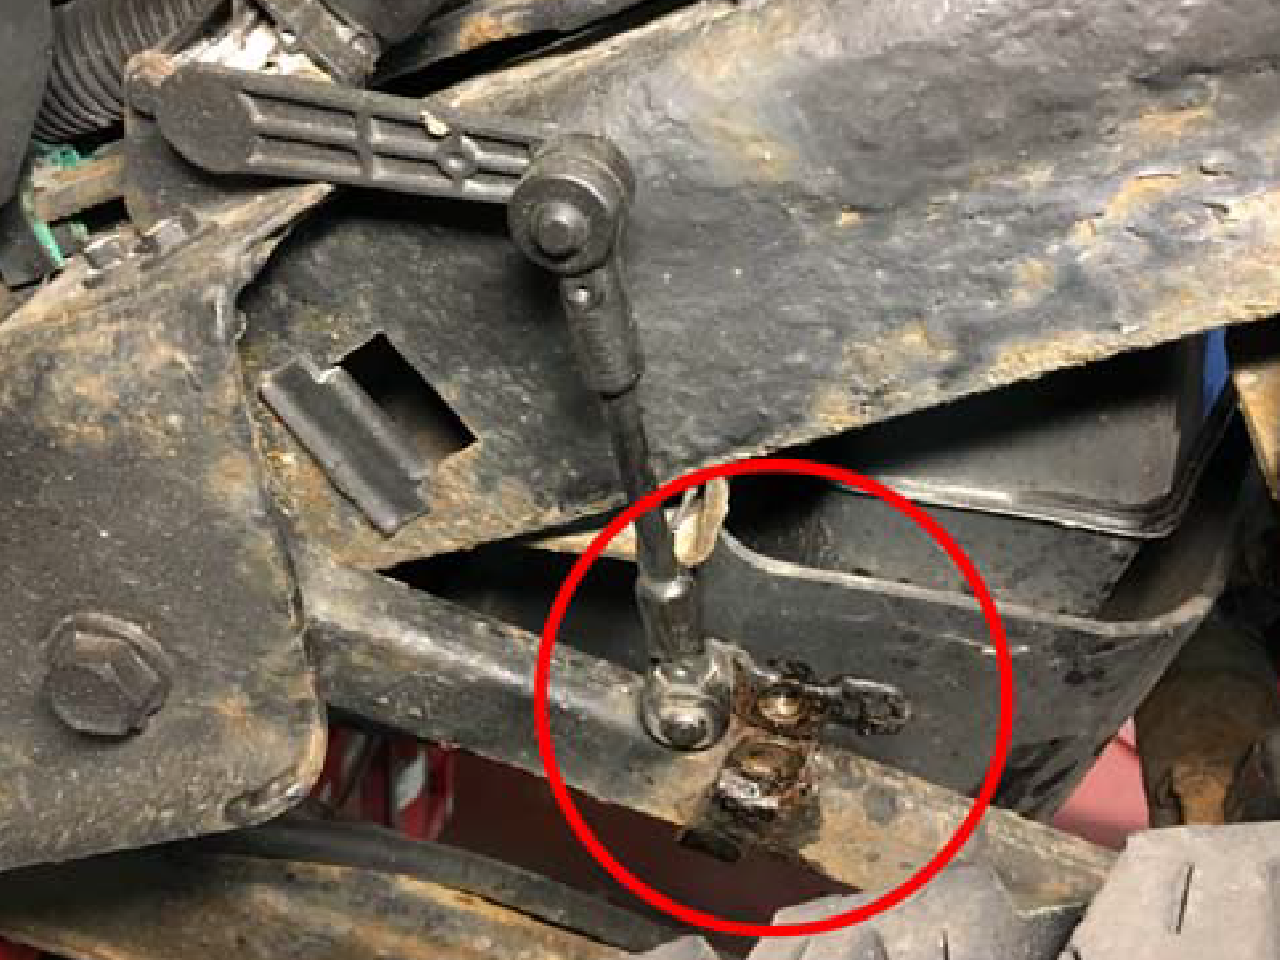
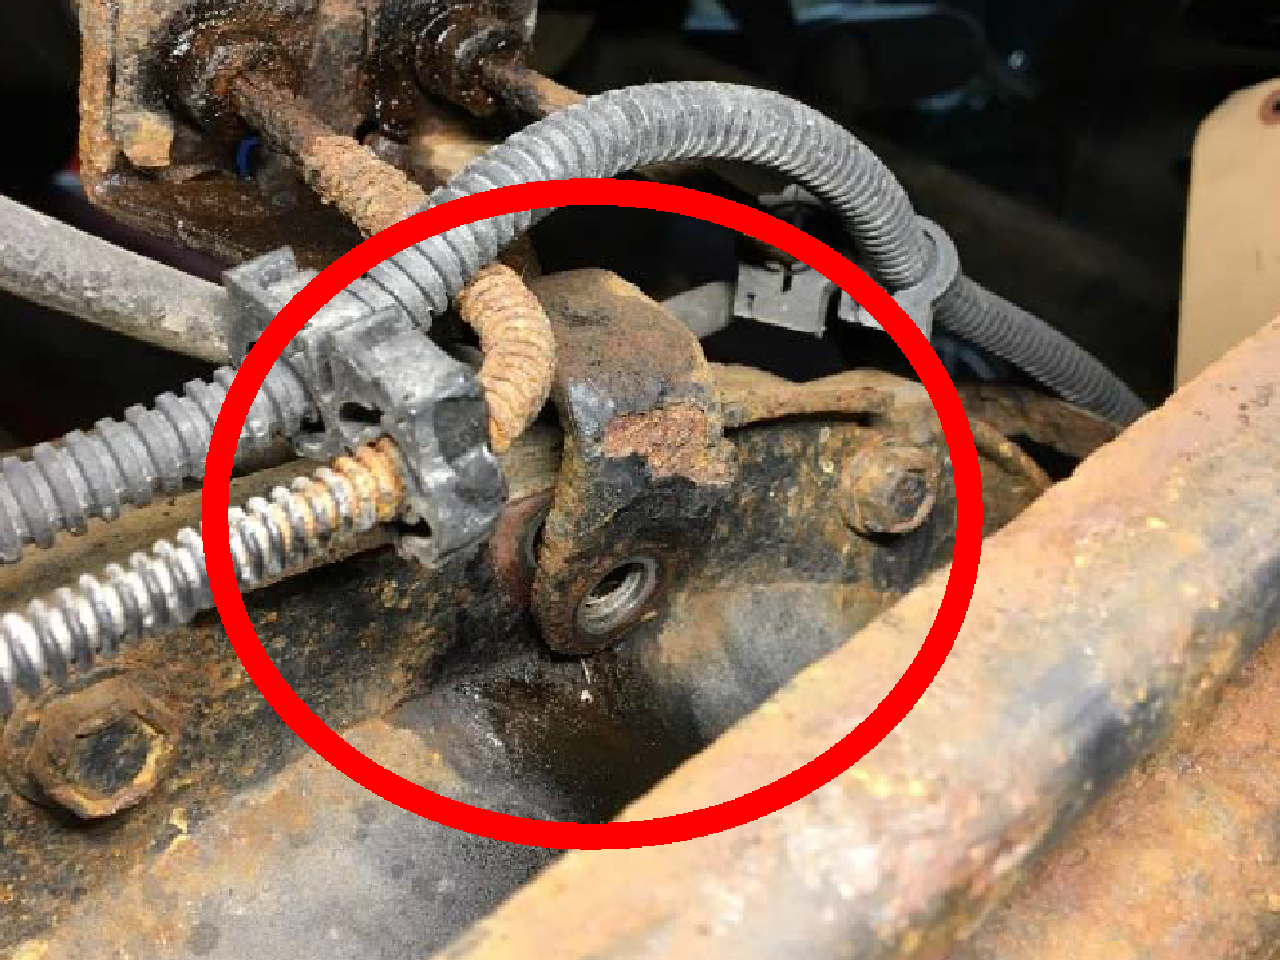
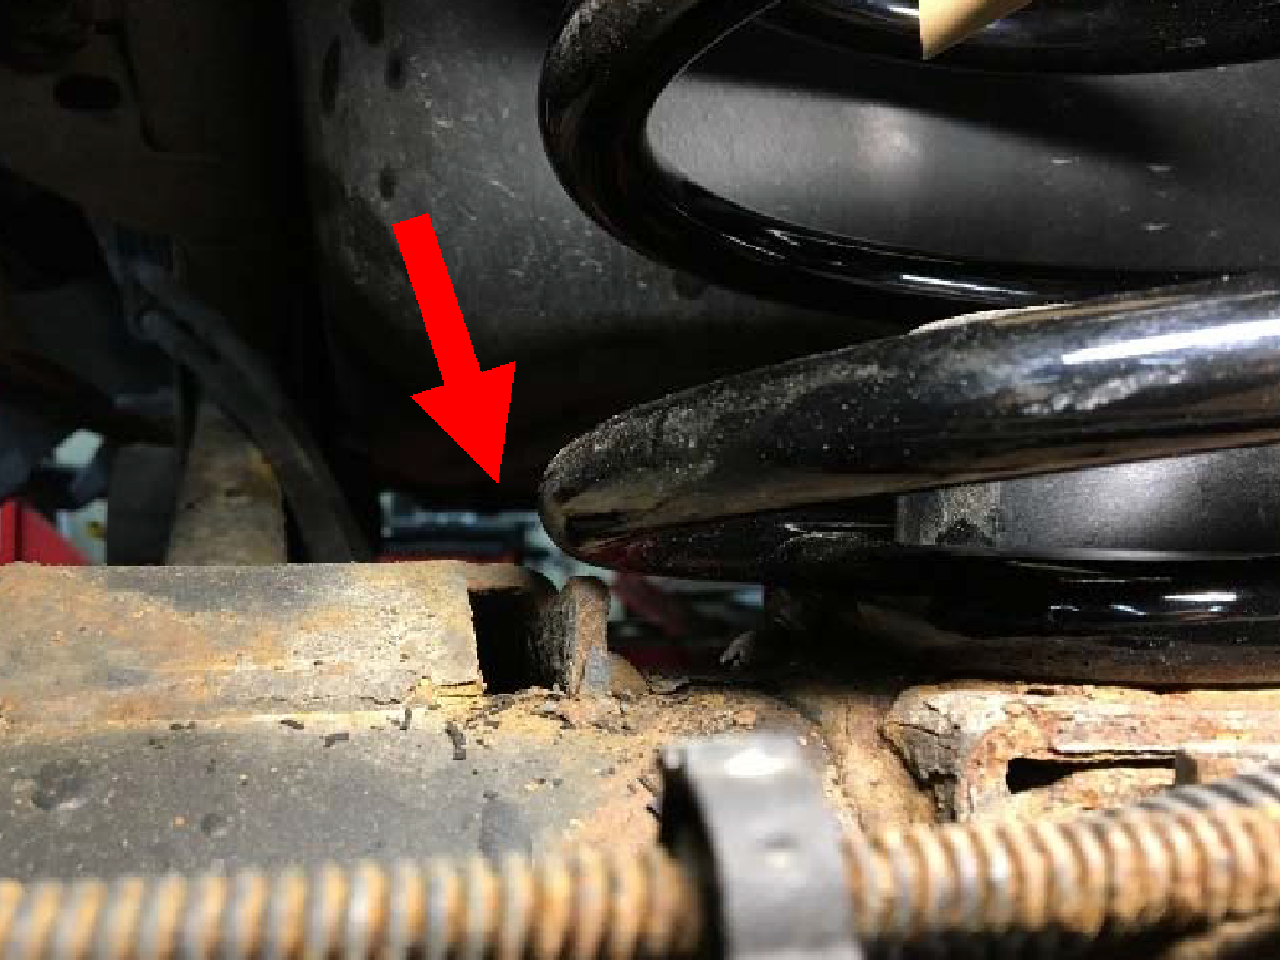
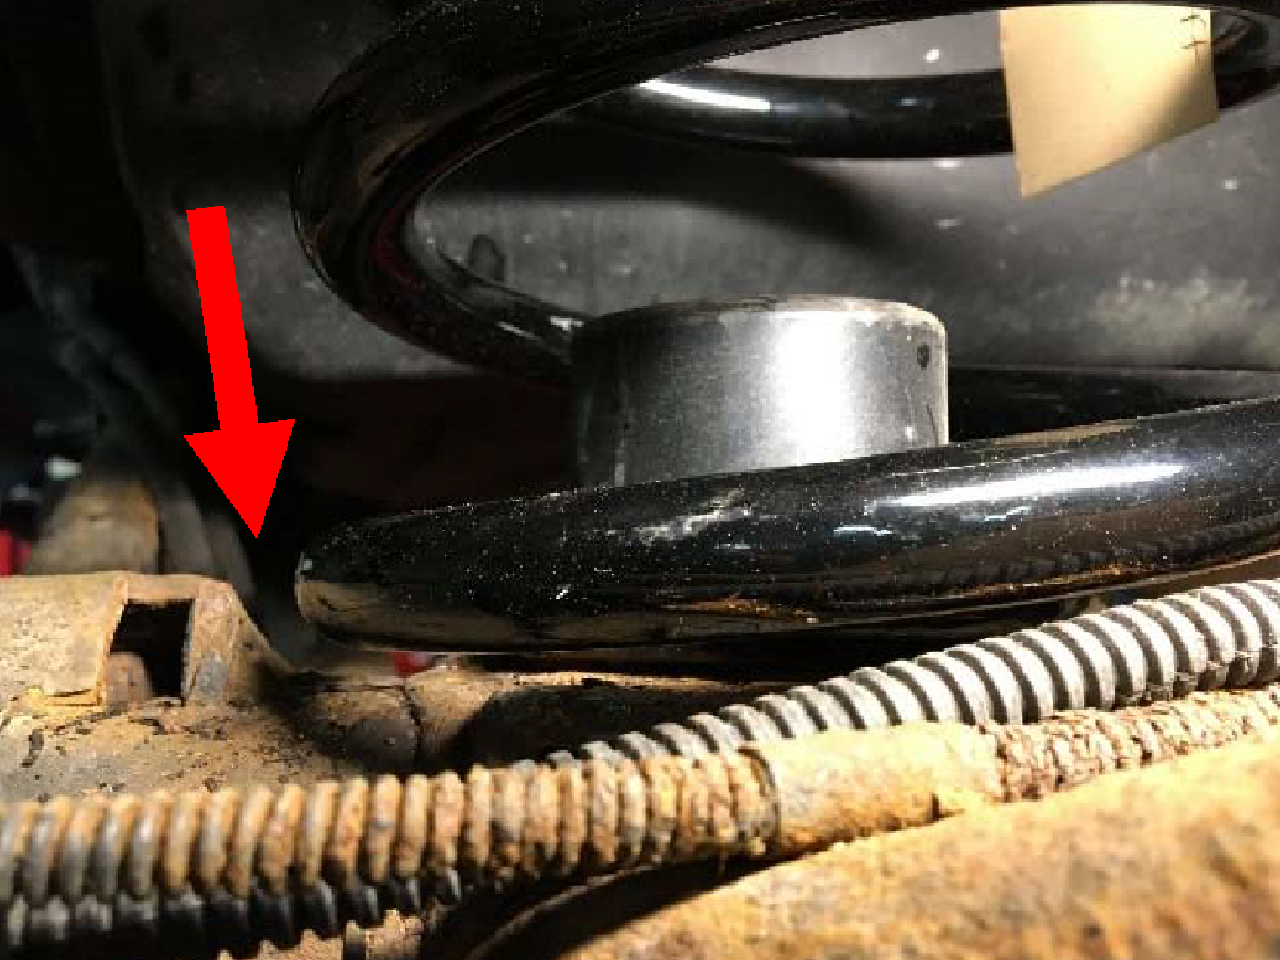
- Install new coil spring, placing tighter coils to the TOP. Note: The springs are labeled 511T for the left side and 512T for the right side and must be installed accordingly. Make sure both pigtails are secure within the spring perch. Rotate the spring until the most clearance is obtained between the lower link bracket, fuel tank, and the spring (see photo).
- Carefully raise the rear axle while ensuring the upper coils remain properly seated in the upper spring seats. Caution: Take care that vehicle weight does not shift off frame supporting points when lifting the axle.
- Reattach the lower shock mounting bolts, ride height sensor, rear axle brake line bracket, and the anti-sway bar end links.
- If required, reinstall wheels. Remove rear axle supports.
INCORRECT ORIENTATION:
CORRECT ORIENTATION:
- Disconnect the negative lead of the battery. Note: This must remain disconnected for a minimum of 60 seconds in order to disable the air suspension service message.
- Locate the air suspension relay mounted in the engine compartment. It is located next to the driver’s side shock mount and under the brake master cylinder. It may be easiest to access by reaching in through the fender well opening behind the driver’s side tire. Remove the green plastic retaining pin and then the relay.
Place one of the supplied bags and zip tie over the connector to protect from contaminates. - Locate the 24-pin connector for the air suspension module. It is located at the rear of the vehicle, near the trailer hitch, and behind the rear differential housing. Remove the red plastic retaining clip and then the 24-pin connector. Place the remaining bag and zip tie over the connector to protect from contaminates.
- Reattach the negative lead onto the battery. Remove all safety stands and lower vehicle. Tighten lug nuts to 140 ft-lbs (190 Nm). Torque the lower shock mounting bolts to 77 ft-lbs (105 Nm).