For vehicles originally equipped with rear air spring suspension system:
- 2009-2002 Chevrolet Trailblazer Std and XL
- 2009-2002 GMC Envoy Std, XL and XUV
- 2008-2004 Buick Rainier
- 2004-2002 Oldsmobile Bravada
- 2008-2003 Isuzu Ascender
- 2009-2005 Saab 9-7x
These kits are for the 4.3L and 5.3L engines, EXCLUDES all with 6.0L engine.
- Read this instruction sheet and any instructions printed on the parts package carefully prior to removing the components from the vehicle.
- Part number on shock or spring may differ from part number on carton. The contents are correct for the vehicle.
WARNING!
- Before servicing any vehicles equipped with original air spring suspension, turn off the "air suspension switch" in the trunk area.
- Do not attempt to remove the air spring from suspension if still containing air. Release the air from the spring before servicing.
- If the shocks supplied are nitrogen gas pressurized, do not heat or open.
- Always wear safety glasses for eye protection.
- Use safety stands whenever a procedure requires you to be under a vehicle.
This kit replaces the rear air springs on vehicles listed above. This will abort the air springs, replacing them with conventional coil springs that provide a complete and thorough conversion plus eliminates the pump system. The components in this kit are designed to replace the worn or non operational original equipment components in the vehicle.
These coil springs are the same as the standard coil springs found on base model suspensions.
If air springs have failed, but the air pump is still functional, it is suggested that replacement air springs are installed which will not abort the air system.
Inspect all original parts as removed from the cartons for correct quantity and damage. Obtain replacements when necessary.
The original ride heights of these vehicles with vary by age and mileage. Measure and record original height, this is measured from floor to wheel opening lip. This should be between 34½” and 35¼”. This height is based on stock size tire set to manufactured recommended tire pressure. The ride height could be considerably higher or lower if the air suspension is not functioning properly. After kit installation may be equal or exceed factory measurements, but will settle to factory specification after several days.
- Raise vehicle at proper lift points and remove wheels. (Consult GM Owners Manual if necessary) and make sure the vehicle is properly supported.
- Support the axle with hoist or adjustable lift/stands. Remove the shock absorber lower mounting bolts and save for reuse (if necessary).
- Remove the leveling valve links from the axle on each side of the vehicle. Then lower axle down, be sure NOT to stretch brake lines or ABS sensor wires. The entire shock may be removed from the vehicle, if you are replacing.
- Lower the axle down to remove the air springs. Caution should be used not the stretch or bend brake lines/hoses or ABS sensor wires.
- Remove the spare tire to gain access to air pump. This pump is located above the tire on driver side, on most applications. (The pump may be in the right rear fender area on some applications). Remove the air pump completely from the vehicle. Disconnect the two airlines from the air spring, air intake line, air inflator line and two electrical connections. Provided in the kit is air line caps and poly bag to seal the connections. The poly bag should be placed over the electrical connections and seal with electrical tape (not provided).
- Once air pump is removed, the air springs are deflated. Remove the air spring by pushing down on the clip then rotating the entire air spring counterclockwise. This will disengage the air spring from the upper end. Pull down the air spring to access the air line. Push on the outer edge of the air fitting and pull on the line simultaneously to disengage. Repeat for other side. Place an air fitting cap on each line.
- Remove the air leveling valves from each side of vehicle directly above the axle. Using a provided poly bag, cover the electrical connection and tape closed, tag into upper frame area.
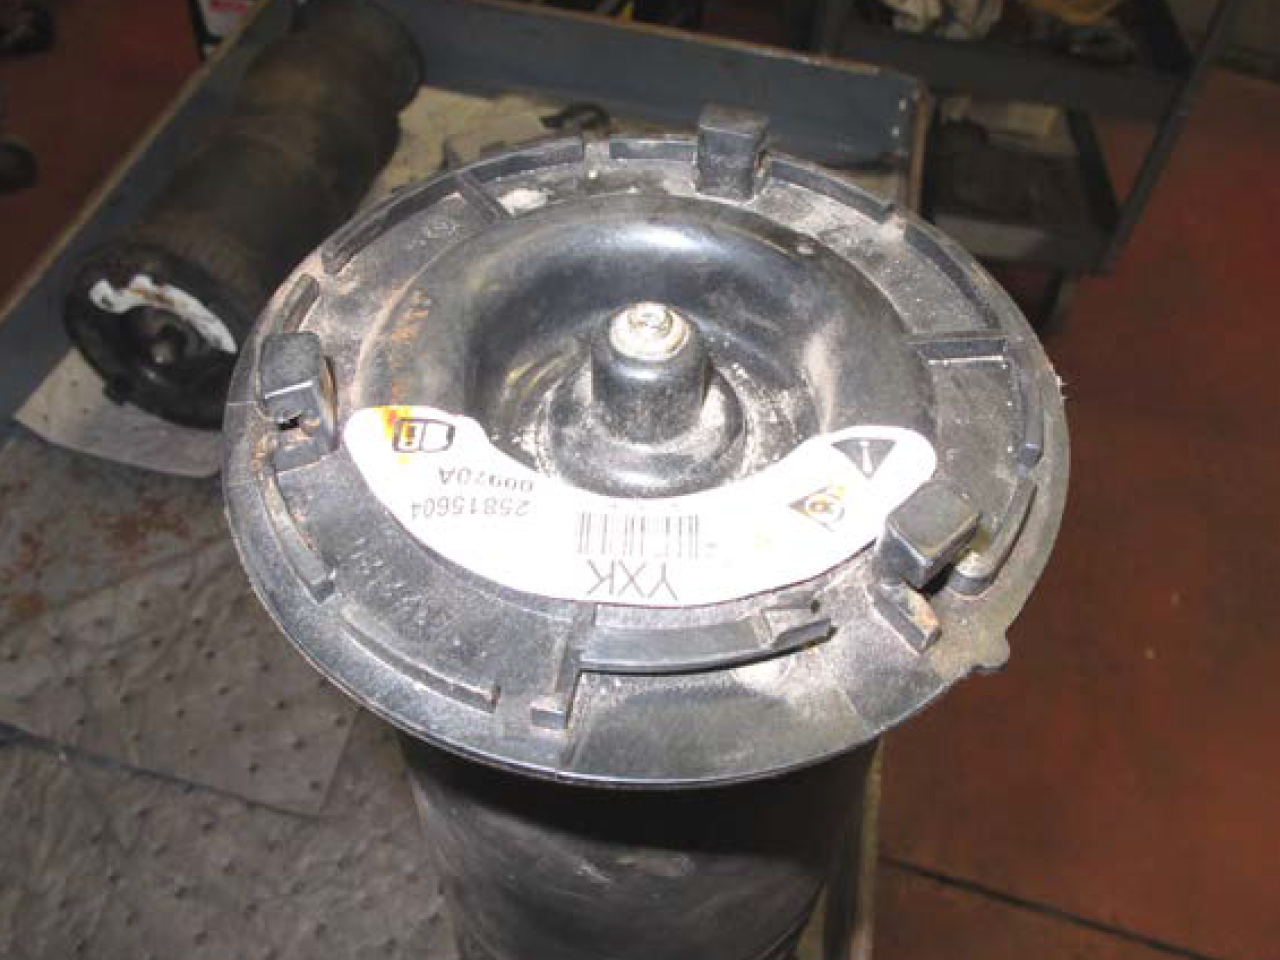
- Install new coil spring, placing smaller coil to the TOP. Use the provided isolators packaged in the kit on the top of the spring. Make sure both pigtails are secure within the spring perch. These will be tight once the shock absorber is reattached. If replacing the shock absorbers, install the upper mounting attachment, and tighten securely.
- Install the shock absorber by attachment of upper then lower mounting bolts. Tighten to 70 ft-lbs (95 Nm). Make sure that the springs are secure and tight between the spring seats in suspension.
- Place the solenoid valves into a poly bag and seal end with electrical tape to keep clean. Secure these packages into the upper frame using cable ties, making sure location are away from the exhaust system. Attach the ride height sensor to one of the holes in the upper frame to hold secure at a central non activating point.
- Reinstall wheel/tire onto vehicle. Tighten nuts to 85 ft-lbs (115 Nm). Remove all safety stands and supports, then lower vehicle to ground.