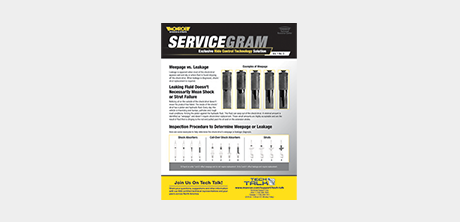
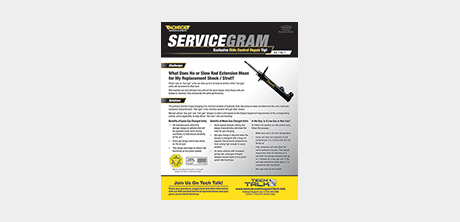
ServiceGram Vol. 3, No. 2
Using Proper Tools When Installing Shocks & Struts
Challenge:
A Hidden Problem: Installing Shocks and Struts with the Wrong Tools Can Result in Unseen Damage
Monroe® shock absorbers and struts are precisely tuned to withstand immense pressure, but – like any other vehicle component – they can fail prematurely when installed incorrectly. Though no visible exterior damage may be present, using the wrong tools for the job can cause severe damage inside the shock and result in an unhappy customer.
Some common examples of improper installation tools and procedures are:
Impacts

Shock absorbers are built with an internal piston nut designed to hold valving together inside the unit. Any rapid spinning of the rod – like that which occurs when using an impact to install or remove the external mounting nut – can cause it to come loose. This can dislodge the rod and damage internal components.
Pliers and Vice Grips

Gripping the rod with pliers or clamping it with vice grips can leave tool marks on the piston rod, creating sharp, high spots that are capable of damaging the oil seal. When this occurs, the shock absorber will likely leak oil and fail.
Solution:
Using Tools Designed for the Job
Shock and strut installation tool kits from several respected tool manufacturers are available. These kits include specially engineered sockets – called pass-through sockets – that allow technicians to install new shock absorbers and struts without spinning the piston rod or gripping it in a way that causes damage. Most Monroe shock absorbers and struts are designed to allow for removal and installation using such tools.
Step 1
First, choose the correct bit size and place it on the rod.

STEP 2
Next, find the corresponding pass-through socket and slide it over the top of the bit and onto the nut.

STEP 3
Finally, use a ratchet to hold the bit in place and a wrench to tighten the nut.

NOTE: When installing new shock absorbers and struts, it is critical that automotive service professionals do not overtighten the nut. For ride control repair tips on proper tightening, click here.
Learn more about quality suspension parts, find the right car part, or find a local repair shop today.
The content contained in this article is for informational purposes only and should not be used in lieu of seeking professional advice from a certified technician or mechanic. We encourage you to consult with a certified technician or mechanic if you have specific questions or concerns relating to any of the topics covered herein. Under no circumstances will we be liable for any loss or damage caused by your reliance on any content.
Additional ServiceGrams

Avoiding Strut Assembly Installation Noise Issues
UNDERSTANDING NO OR SLOW ROD EXTENSION IN SHOCKS & STRUTS